

DIY: Keep fall at hand with these clever roses made from leaves
Posted
When the leaves turn bright orange, red and yellow, there's a little part of us that wishes it could stay fall forever. Particularly, if we have a fall wedding in mind!
This simple DIY project can help you hold on to that colorful season in a unique and beautiful way and we're excited to share with you. It's just one more way you can tie the turning of the seasons into your wedding day.
This simple DIY project can help you hold on to that colorful season in a unique and beautiful way and we're excited to share with you. It's just one more way you can tie the turning of the seasons into your wedding day.
DIY Leaf Roses
Supplies:
A bag of freshly fallen or plucked leaves
Glycerine
Water
Large bowl or similar container
Plastic wrap
Newspaper, etc. for drying
Twigs
Floral tape
Method:
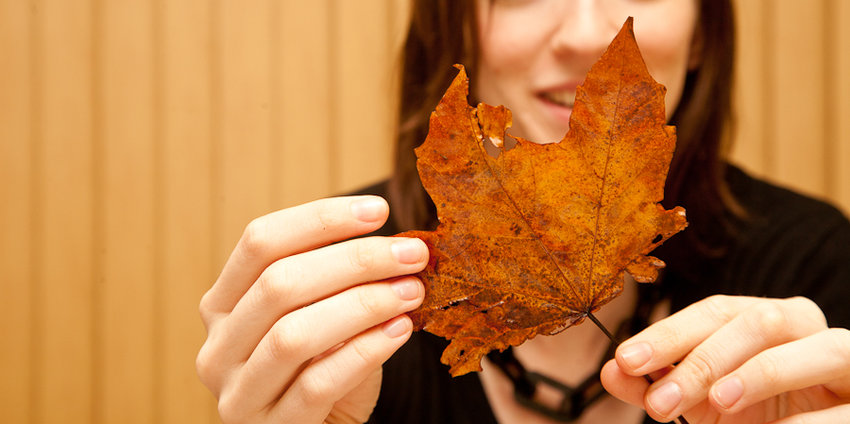
Start by preserving the leaves. You'll want to find leaves that have just fallen or (shhh!) are still on the trees. Once they've started to get crisp, they won't work. Look for vibrant, flexible leaves. (Editor's Note: They will lose some of their color in the processing, but don't worry, they will still be gorgeous momentos of brisk, fall days.)
Take your leaves and fully submerge them in a solution of 2:1 glycerine/water solution, (glycerine can be found in most craft stores - to do enough leaves for a full bouquet, you'll probably need about 16 oz.).
Make sure to cover the stems with your solution. Cover your container with plastic wrap and set aside for approximately six to eight days. Drain the leaves, spread them out and allow them to dry on paper towels and a towel for several days.
When they're done, you'll be left with leaves that are preserved, but still flexible.

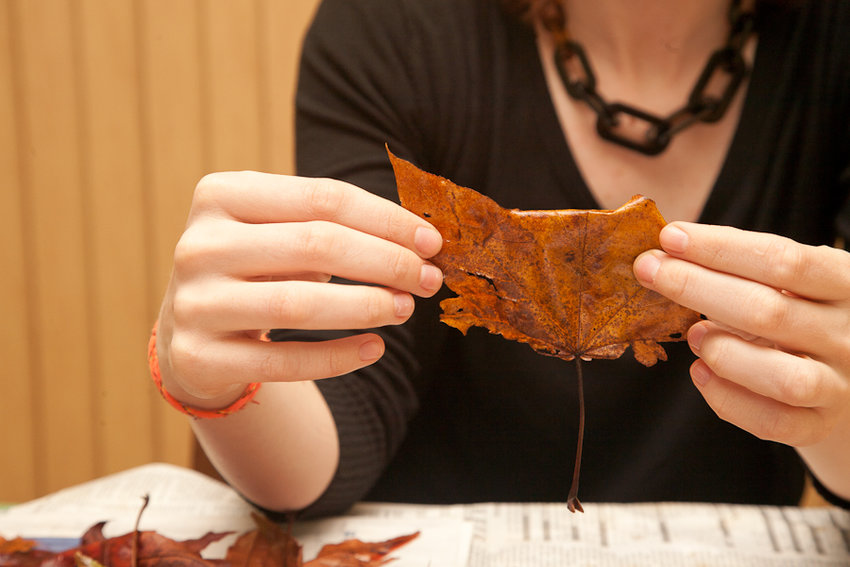
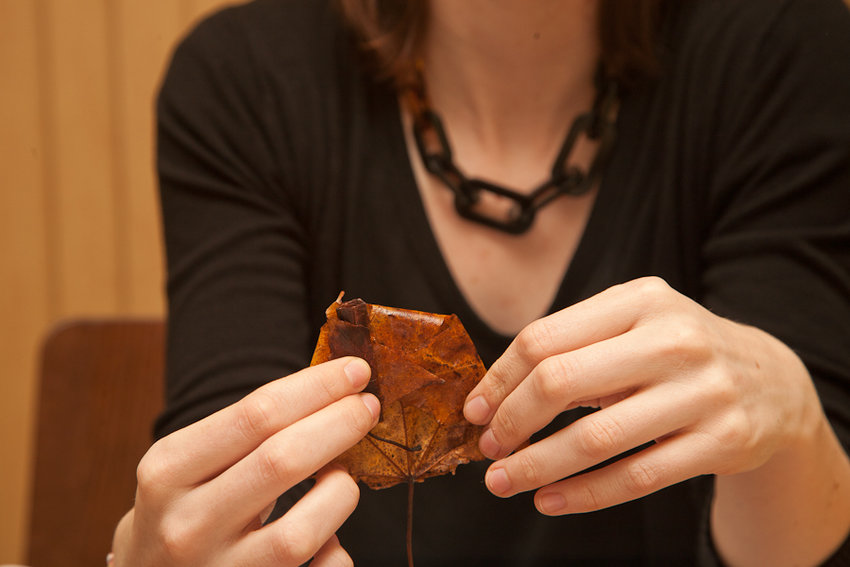
To make your roses, start with a small leaf.
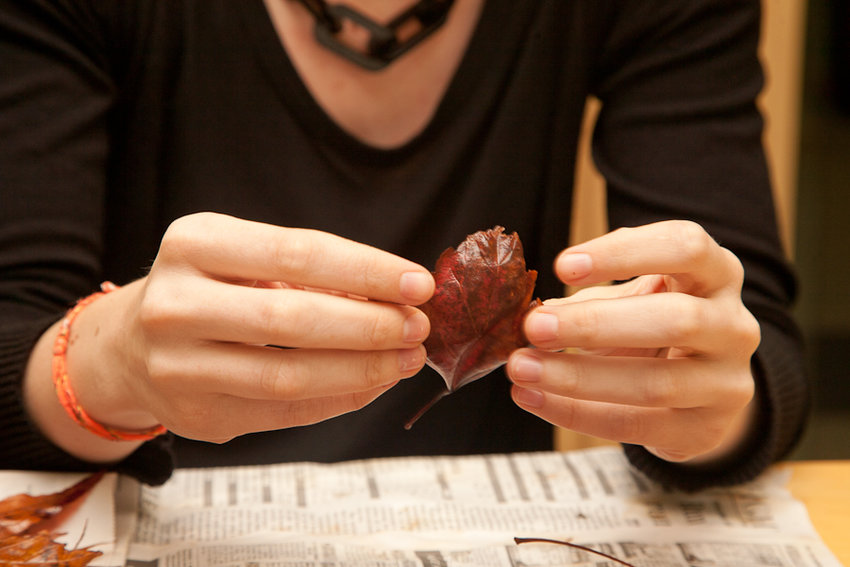
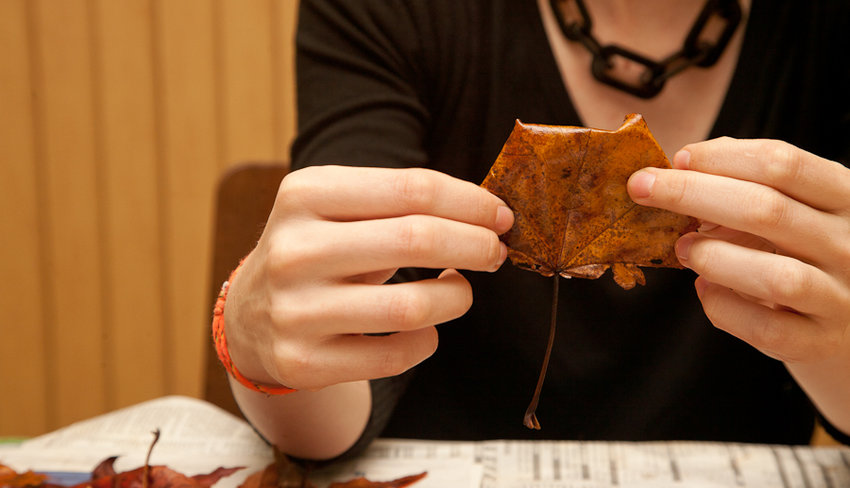
Bending the matte side in towards itself, fold the top of the leaf down.
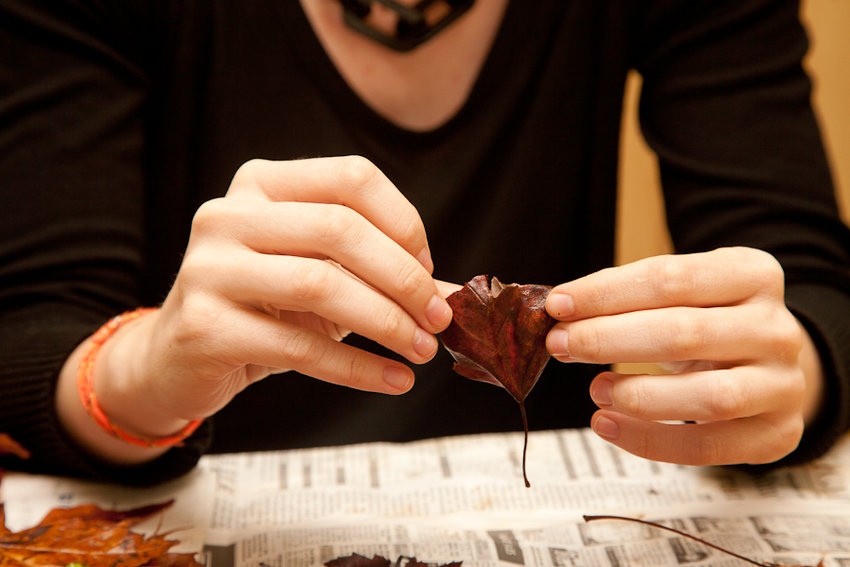
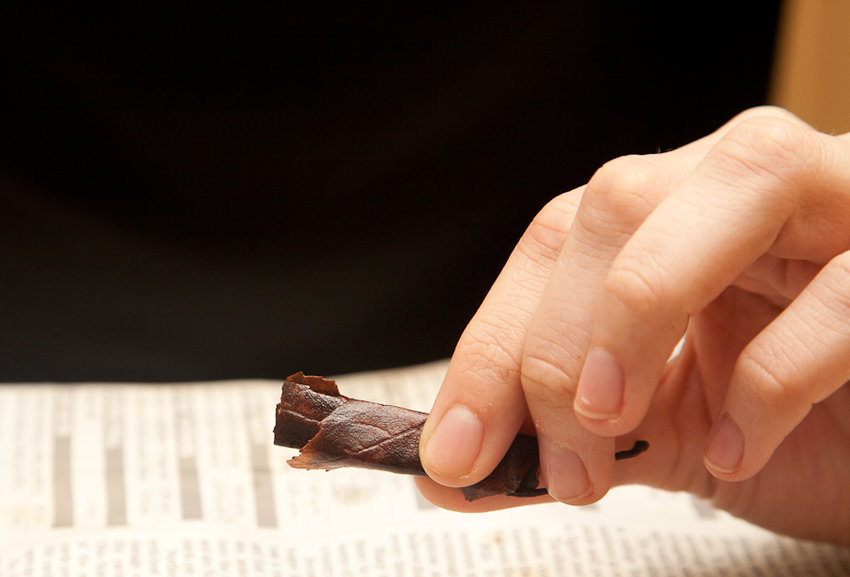
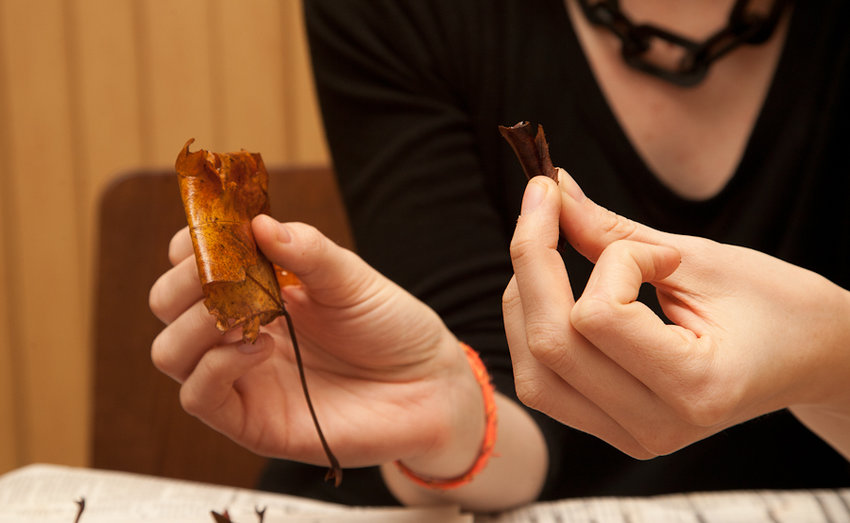
Then roll it up like a cigarette. Or an egg roll. You get my drift.
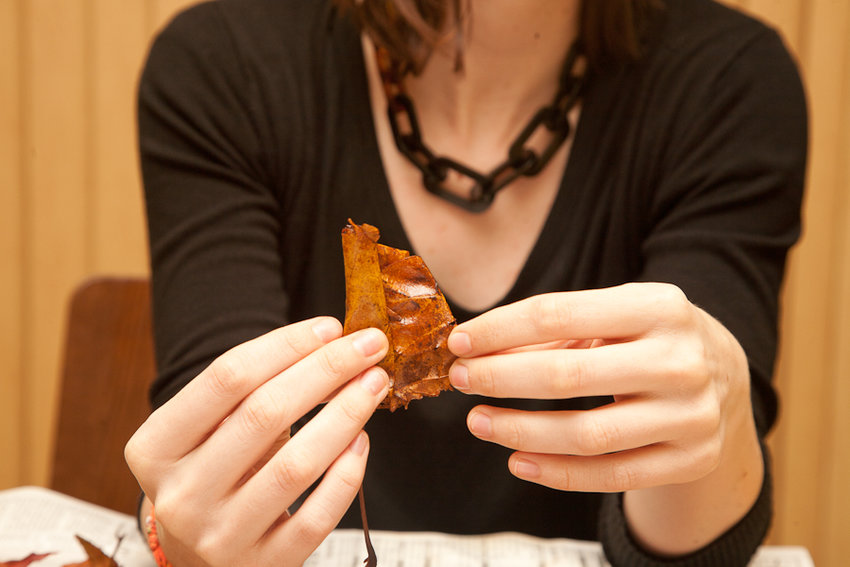
Then take a bigger leaf ...
And fold all of the points in (again, fold matte to matte, so the pretty part of the leaf is showing).
When you've done that, take your rolled leaf and place it inside your folded leaf and wrap the folded leaf around the rolled one, making sure that the center leaf is peeking out above the leaf you've wrapped. Repeat the last two steps with more leaves, until it's as big as you'd like and it looks like a rose! This will take some tweaking, and you may have to undo and redo leaves until it looks the way you want it.

When you're happy with the way your rose looks, take a piece of floral tape, and wrap the base of the leaves and the stems tightly, securing them all together.
While you're wrapping the leaves, if you are concerned about them all staying together, you can also wrap the first few layers before adding the rest.
While you're wrapping the leaves, if you are concerned about them all staying together, you can also wrap the first few layers before adding the rest.
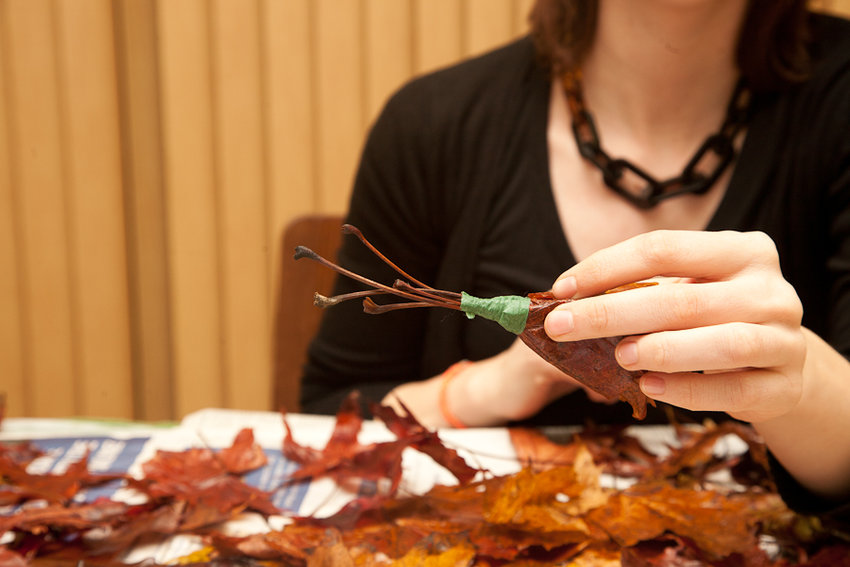
Grab one of your twigs, and place it up against the floral tape. Nestling it in between the leaf stems will help it blend in. Wrap it all in floral tape until it feels secure. Leave as much or as little of the twig showing as you like.
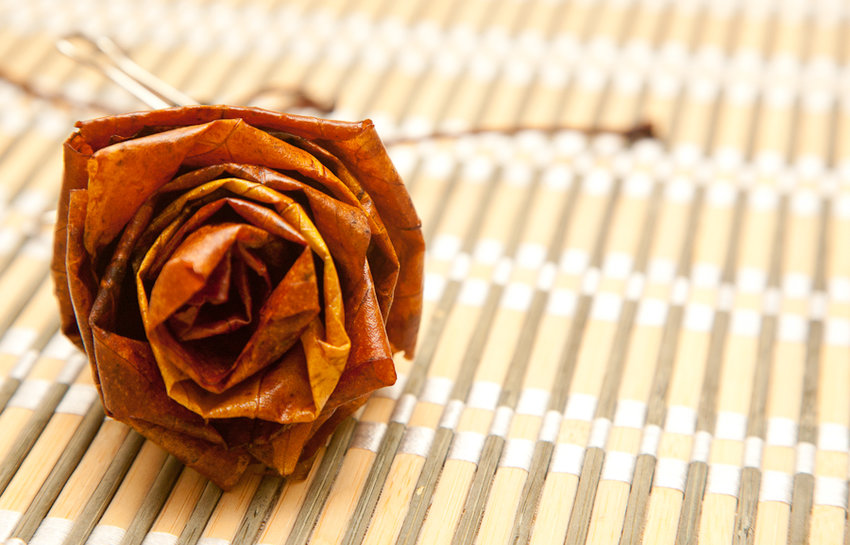
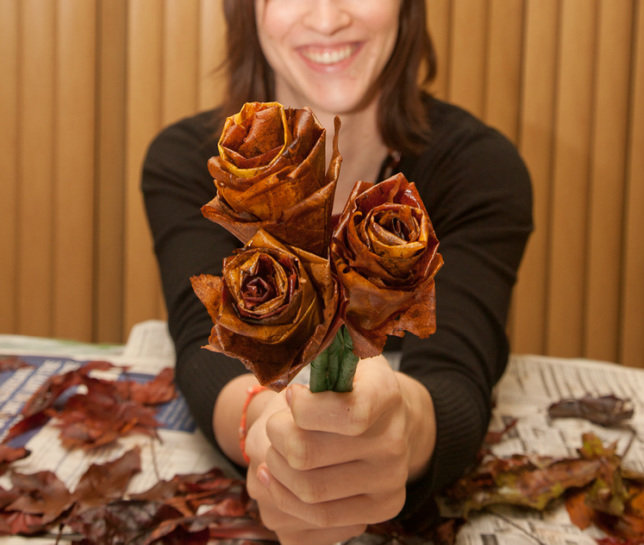
And there you have it – a leaf rose.
And there you have it – a leaf rose.

Make a few more and you'll have a bouquet!

This project takes some time, but not much work and even less money. A full bouquet should cost around $20, and they add a lovely touch to a fall or winter wedding. You can even mix them in with your natural flowers!
You can also do this project without preserving the leaves, but we're not sure how long the flowers will last. If anyone decides to try it this way, tell us how it worked for you below in the comments!
Happy project-ing!
Kara
You can also do this project without preserving the leaves, but we're not sure how long the flowers will last. If anyone decides to try it this way, tell us how it worked for you below in the comments!
Happy project-ing!
Kara


