

Wedding Invitation 101
Better than any Facebook post or text thread, sending out your wedding invitations is the ultimate announcement that… you’re getting married! And for all your family and friends, receiving that bit of gorgeous, meticulously designed paper in the mail is a cause for celebration, giving them a taste of your wedding day plans and letting them know that, yes, they’re invited!
If you’re just getting started on your wedding planning journey, make sure to bookmark this page for later! As fun as designing your invitations can be, the process of collecting addresses, following timelines and sending them out can be time-consuming and stressful without a guide. That’s why we’re going to make this as simple as possible, giving you a step-by-step process so you can send those puppies out and get RSVPs back with time to spare.
Save the date — 6+ months before wedding (9+ months before destination wedding)
Wedding days are competitive — as you’ll find out when booking your vendors — and guests will often have multiple invitations for summer dates. Sending out save the dates is an optional way to bookmark that date in your guests' schedules early on, making RSVPs more likely later on as you won’t be competing with vacations or other events. Save the dates can be as small and informal as you’d like with just your names, date, location, website and the statement, “Formal invitation to follow.” Plus they’re a great opportunity to show off your favorite engagement photos!
If you’re hiring an invitation designer or calligrapher, start researching vendors at this time as well. You don’t want to find your dream vendor only to be notified that they’re all booked out for your timeline!
Order wedding invitations — 4-9 months before wedding
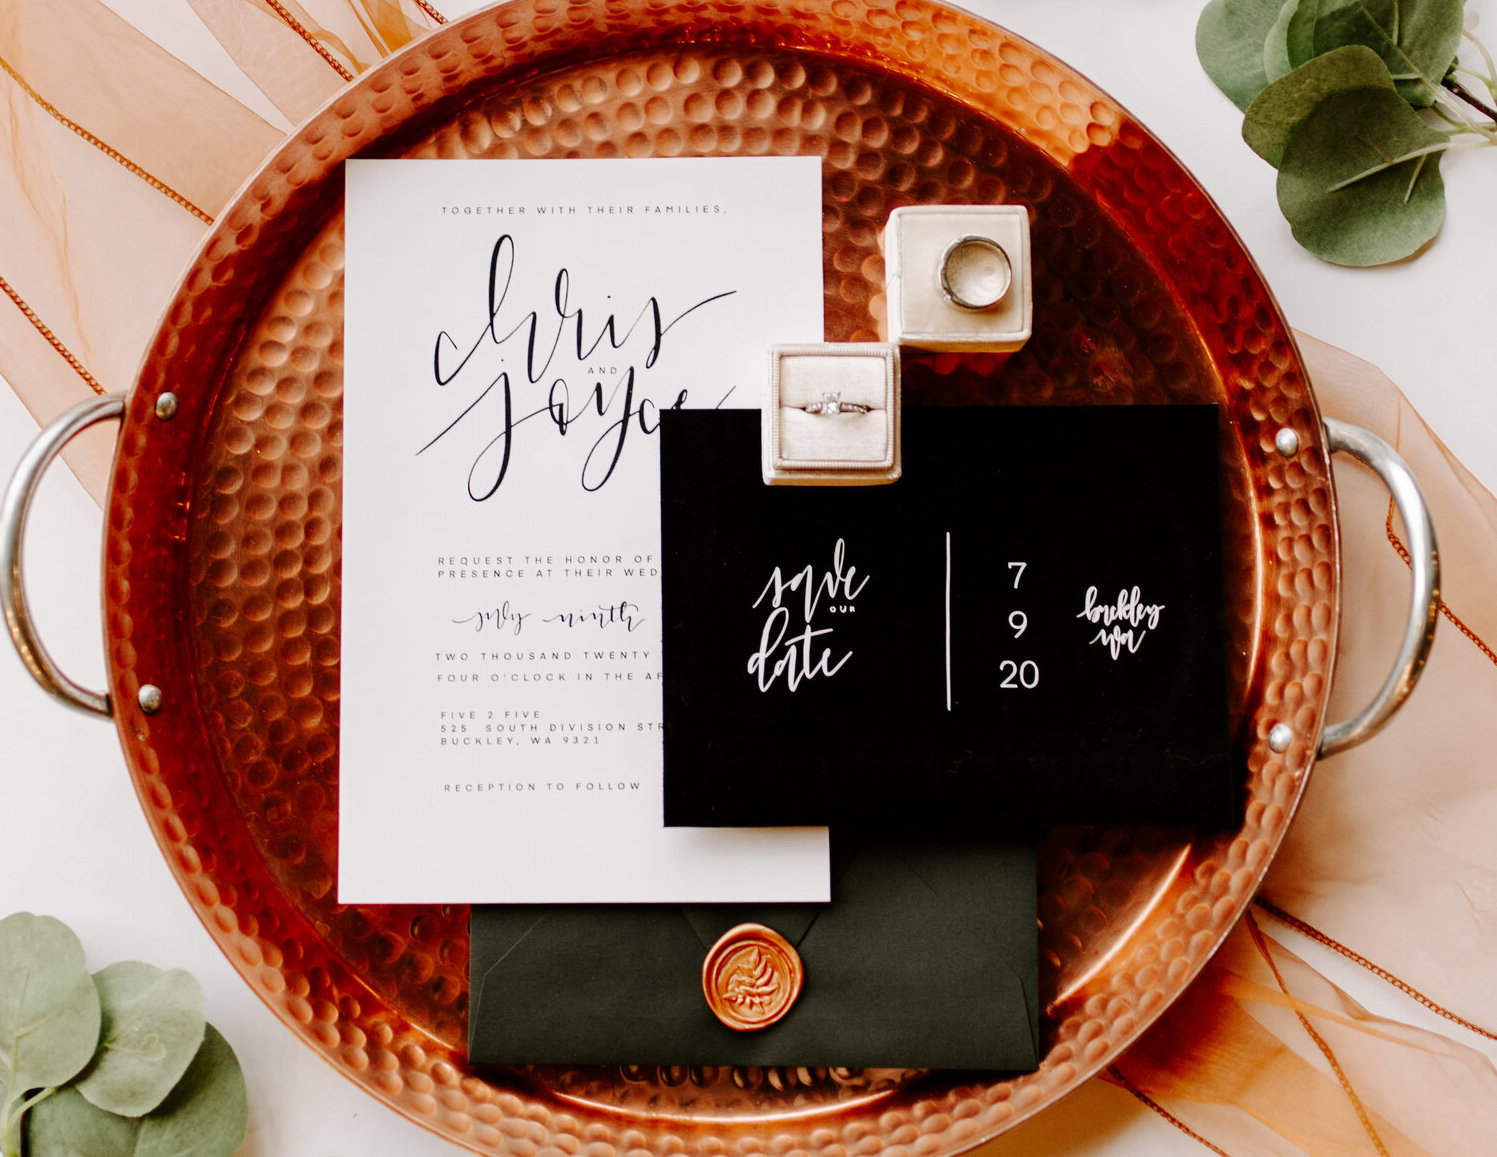
Wedding invitations have become much more flexible over the past few decades, though traditionally they would include: the host, the couple’s names, date, time, venue, location, dress code and whether a reception will follow.
The invitation will also include a response card or RSVP and may also include an enclosure or details card and a map with directions.
Allow ample time for customized invitation suite design if you choose to go that route. You’re hiring an artist (or many)! Just like any custom project, it’s important to create space for communication, brainstorming, revisions, delivery and assembly. And don’t forget about envelope calligraphy!
If you choose to create your own invitations or pick from a template, use this time to take the process slow as well. Collect all the necessary addresses and names, order your product and start assembly.
Send wedding invitations — 2-3 months before wedding (3-4 before destination wedding)
Try to get your invitations sent out about 2 months before your wedding day, and 3 months or more for destination weddings. This will encourage guests to RSVP right away (set your RSVP deadline for 2-3 weeks before wedding), rather than delay or even forget if they have an extended period of time to respond.
Now that you’ve read through that spiel, here’s a simplified wedding invitation suite timeline!
Local Wedding:
9 months prior: Research and hire wedding invitation designer and calligrapher
7 months prior: Order Save the Dates, begin working on invitation design and compile names and addresses for calligrapher or designer
6 months prior: Send out Save the Dates, finalize invitation design
5 months prior: Order wedding invitations
2 months prior: Send out wedding invitations
2-3 weeks prior: Receive RSVPs and reach out to guests who have yet to respond
Destination Wedding:
12+ months prior: Research and hire wedding invitation designer and calligrapher, order Save the Dates, begin working on invitation design, compile names and addresses for calligrapher or designer
9-12 months prior: Send out Save the Dates with website info, finalize invitation design
6 months prior: Order wedding invitations
3-4 months prior: Send out formal wedding invitations


